SSO
You can also configure your Chaos Genius to use your SSO provider for logging in.
Go to the settings page and select your Identity Provider under the SSO Configuration tab.
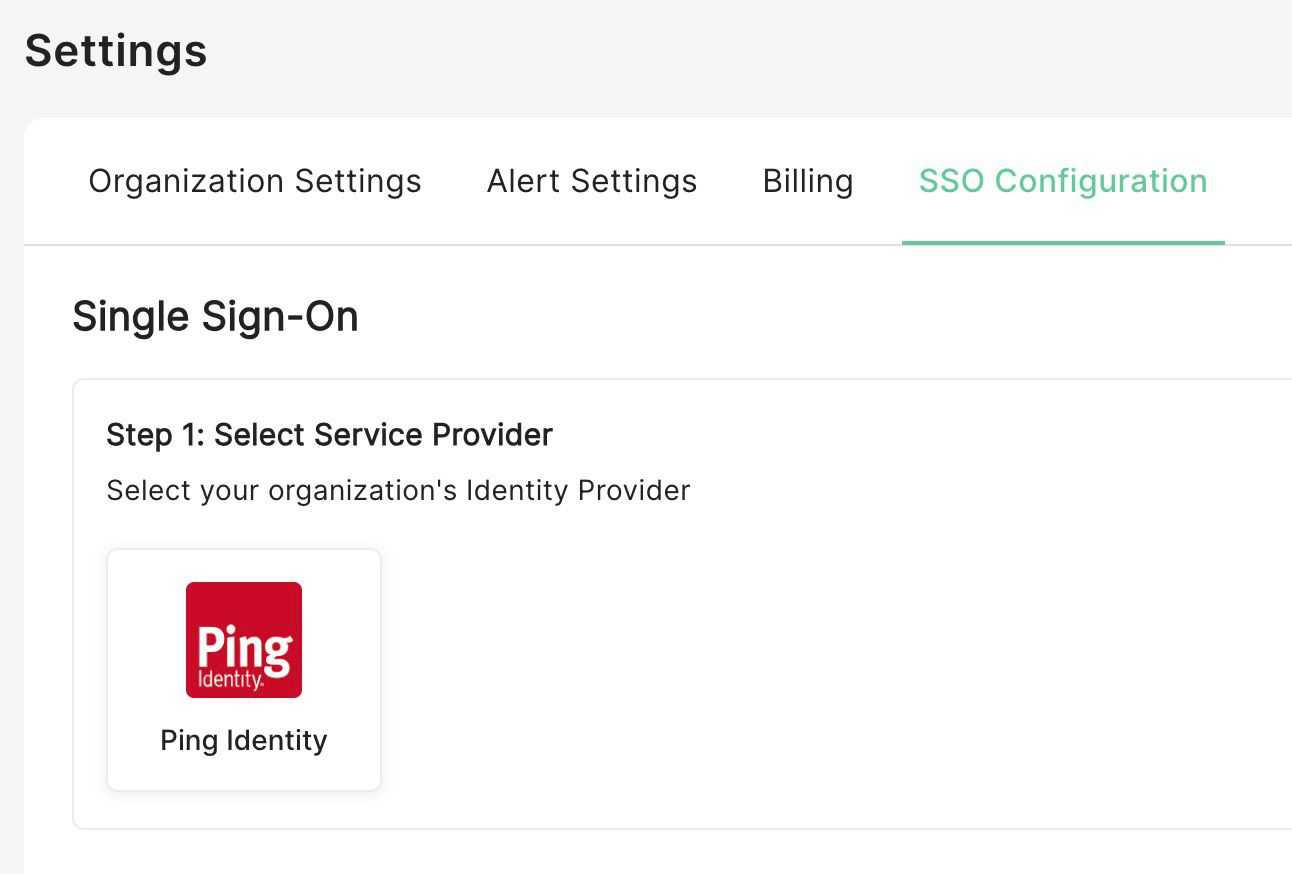
Now configure your identity provider using the steps outlined below and then update Chaos Genius with the files you receive. 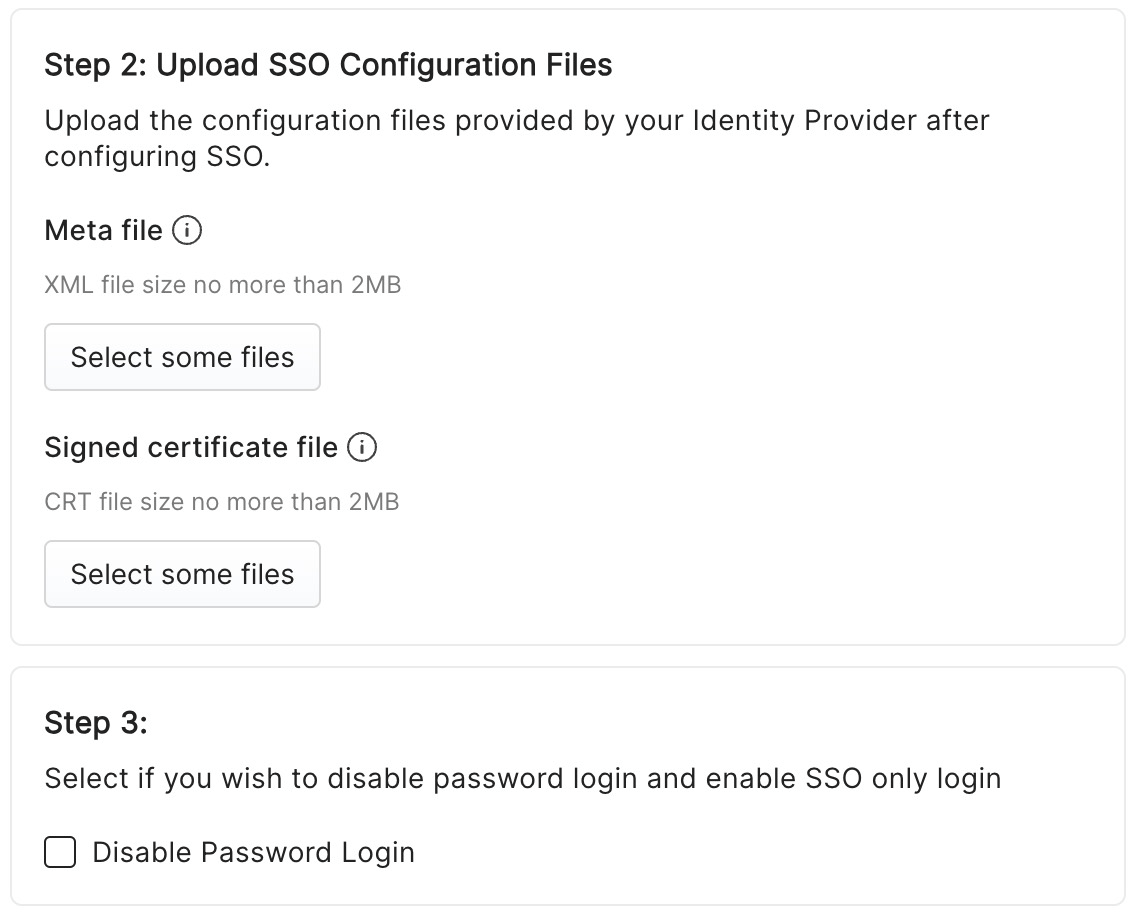
You can also completely disable password based logins optionally.
PingIdentity
First we need to add Chaos Genius as an application in PingIdentity.
- Go to Connections -> Applications -> Add
- You can set the application name as
Chaos Geniusor change it according to your requirements. - In application type select
SAML Application.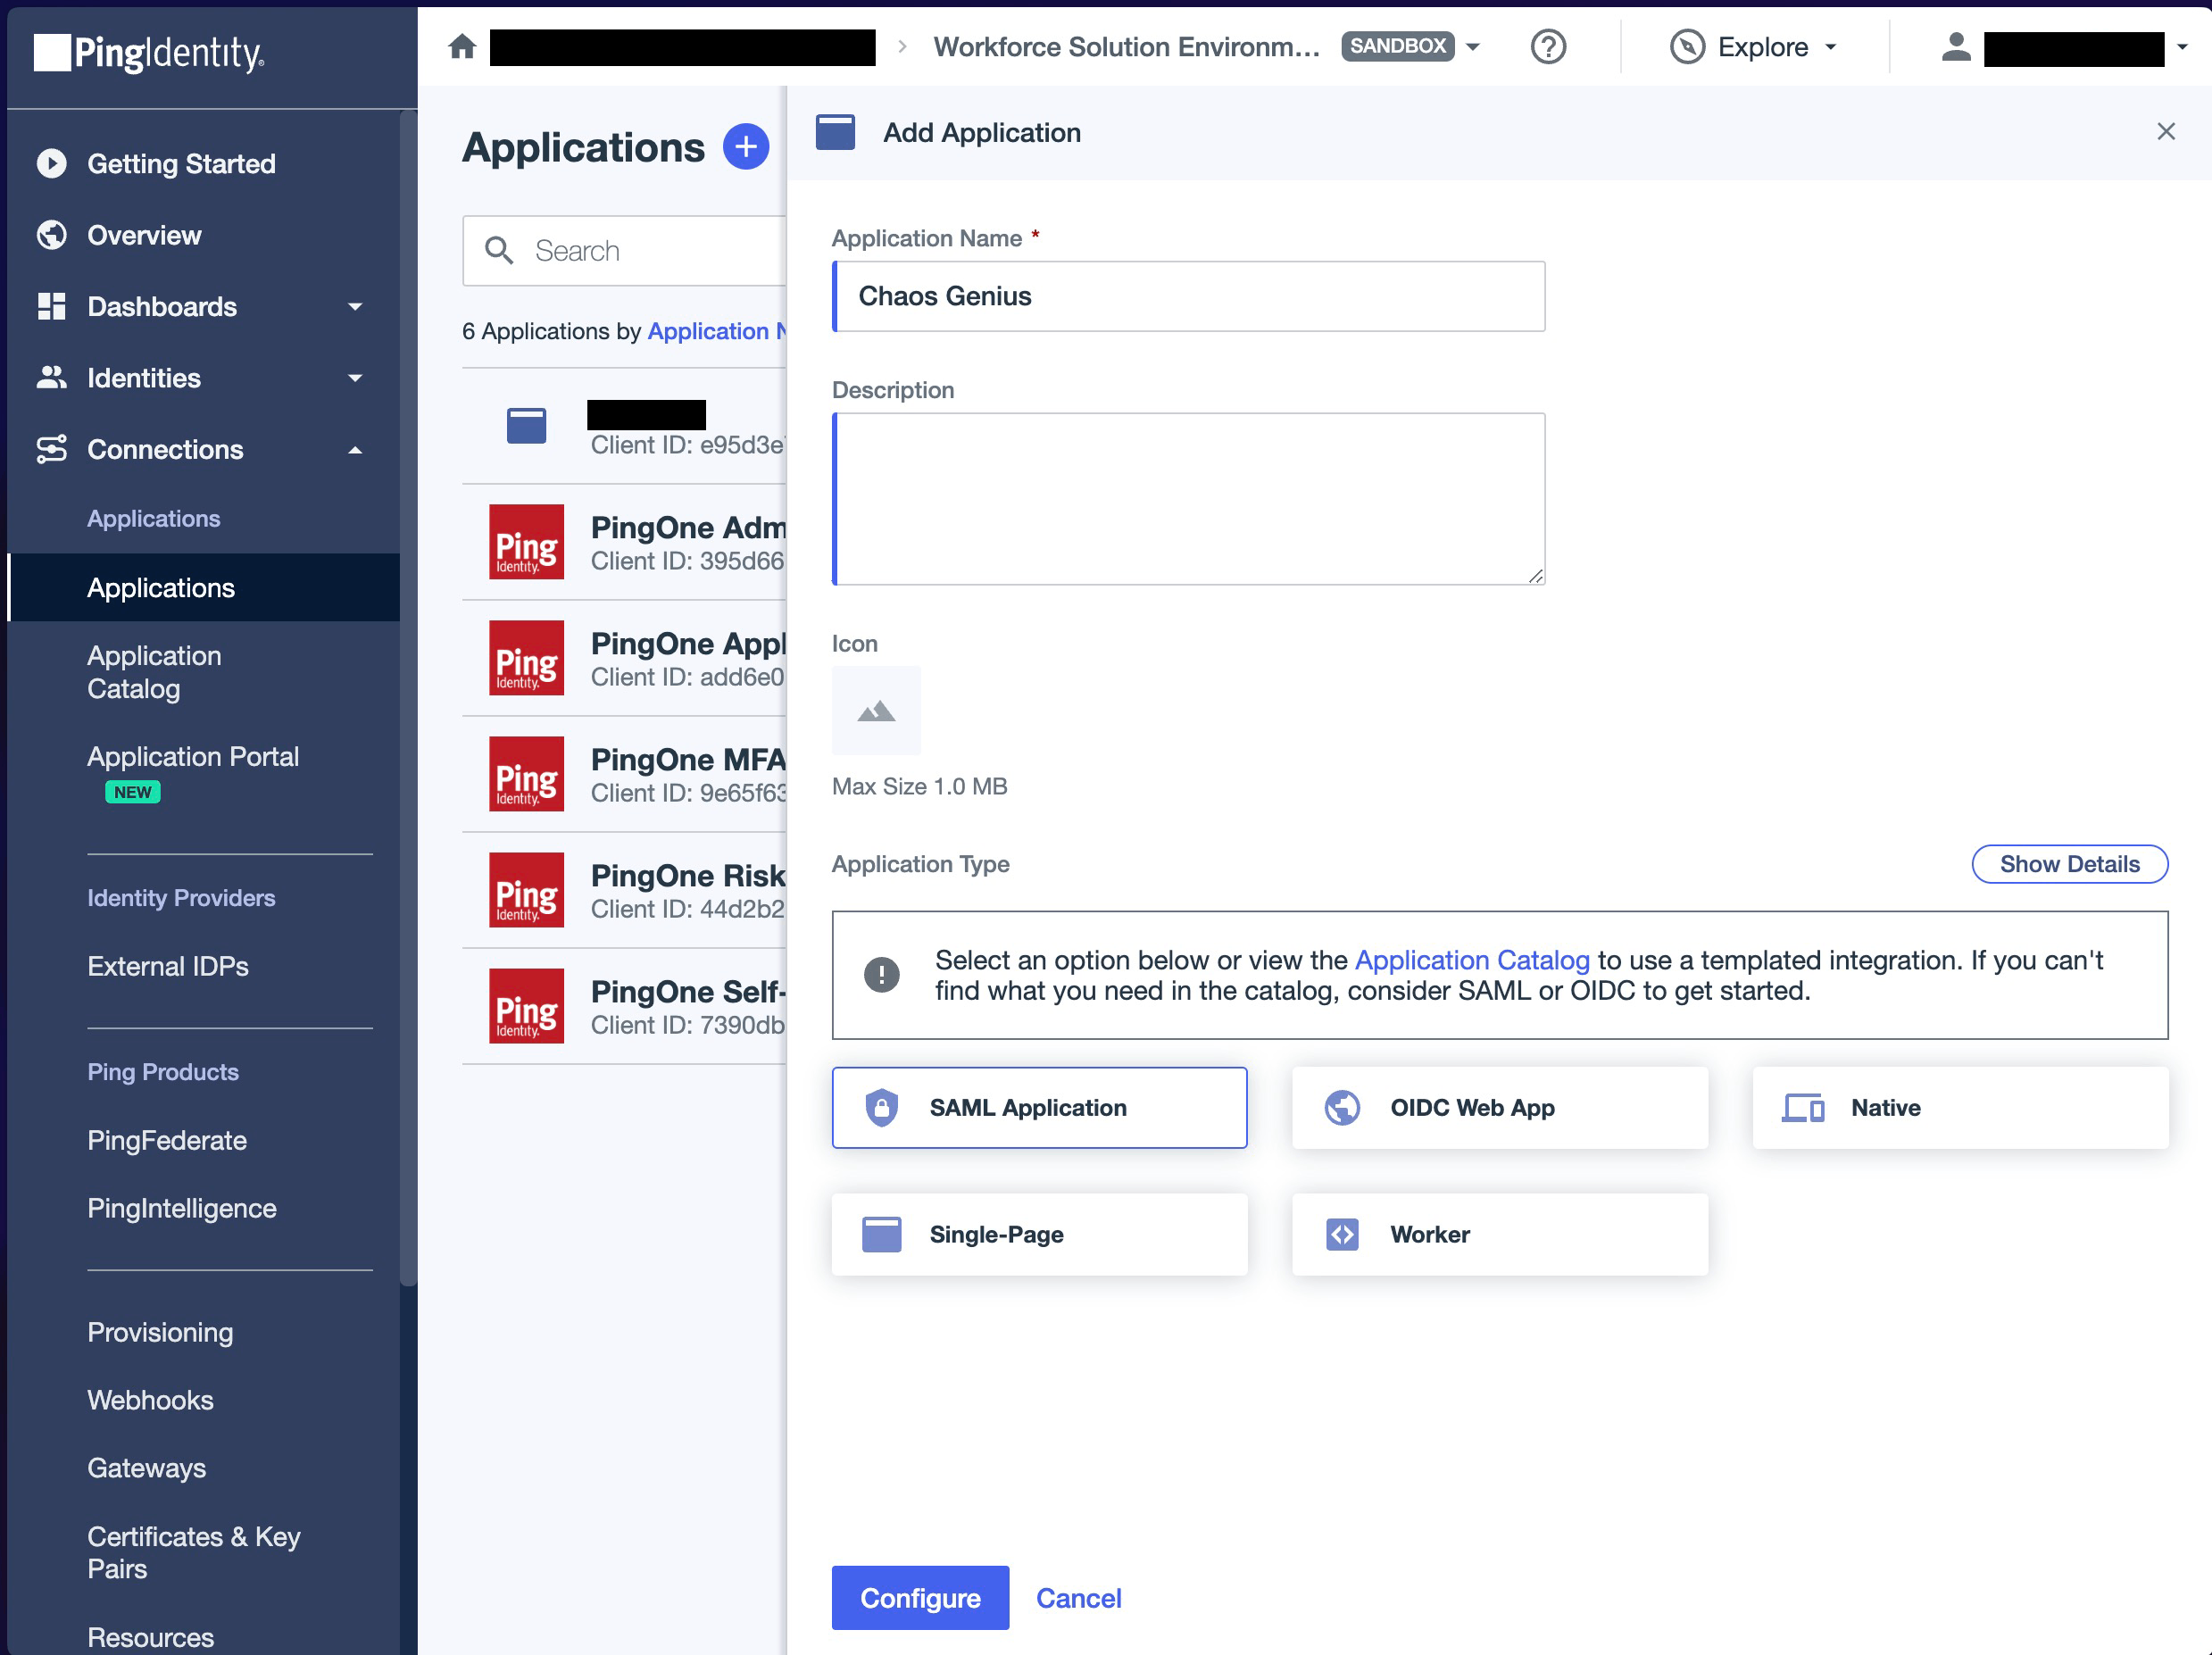
- Click
Configure. - Select
Manually Enter - In the ACS URLs enter:
https://temp-cloud-monitoring-user-pool.auth.us-west-2.amazoncognito.com/saml2/idpresponse - In the Entity ID field enter:
urn:amazon:cognito:sp:us-west-2_qloEmwm69 - Click
Save.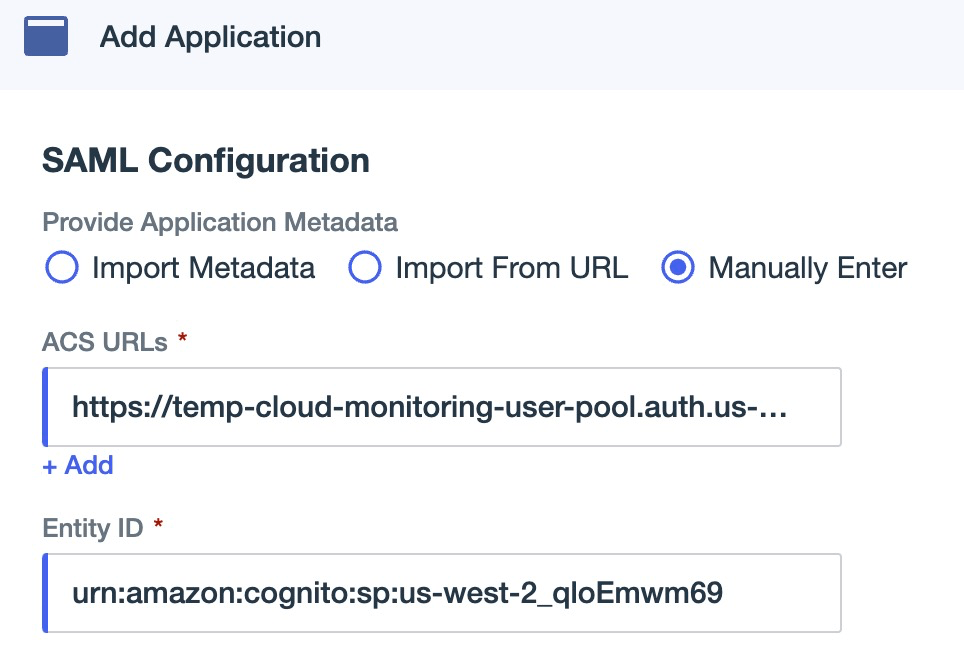
- Click
Attributesbutton in blue near the top.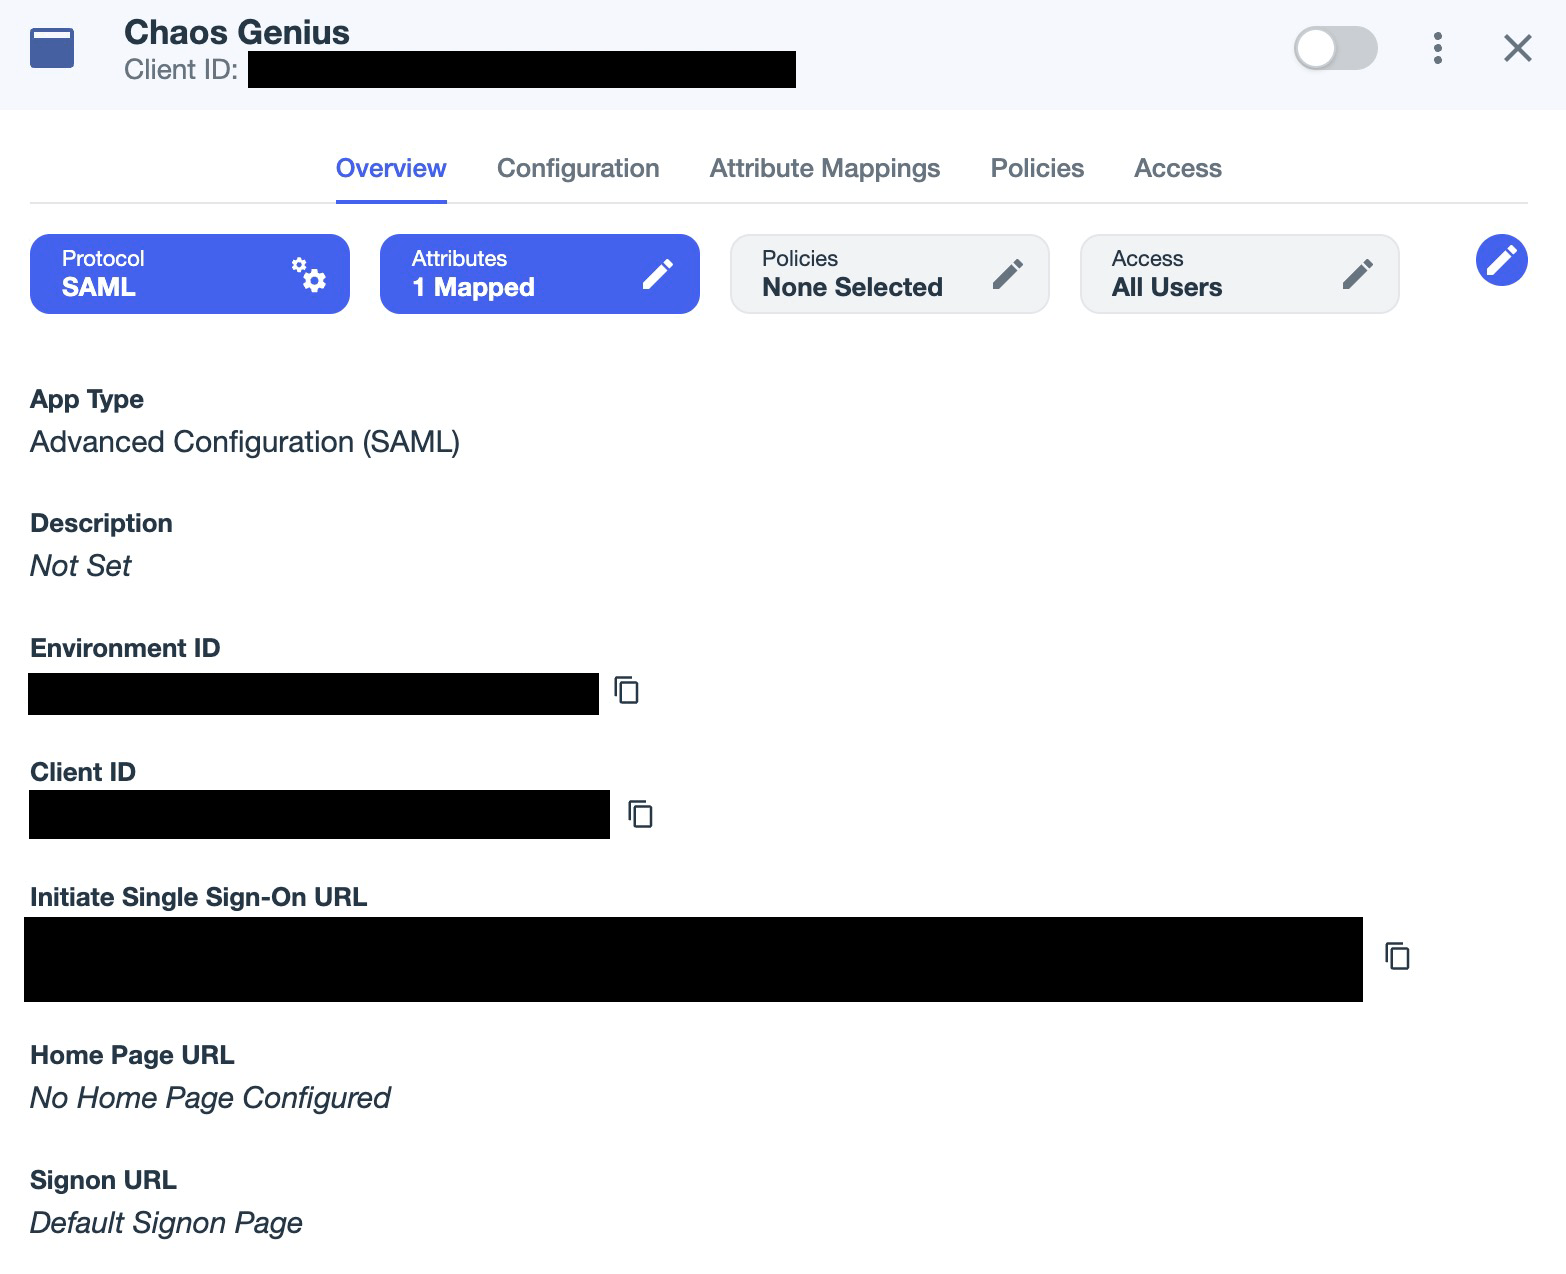
- Add all attributes as shown in the below image.
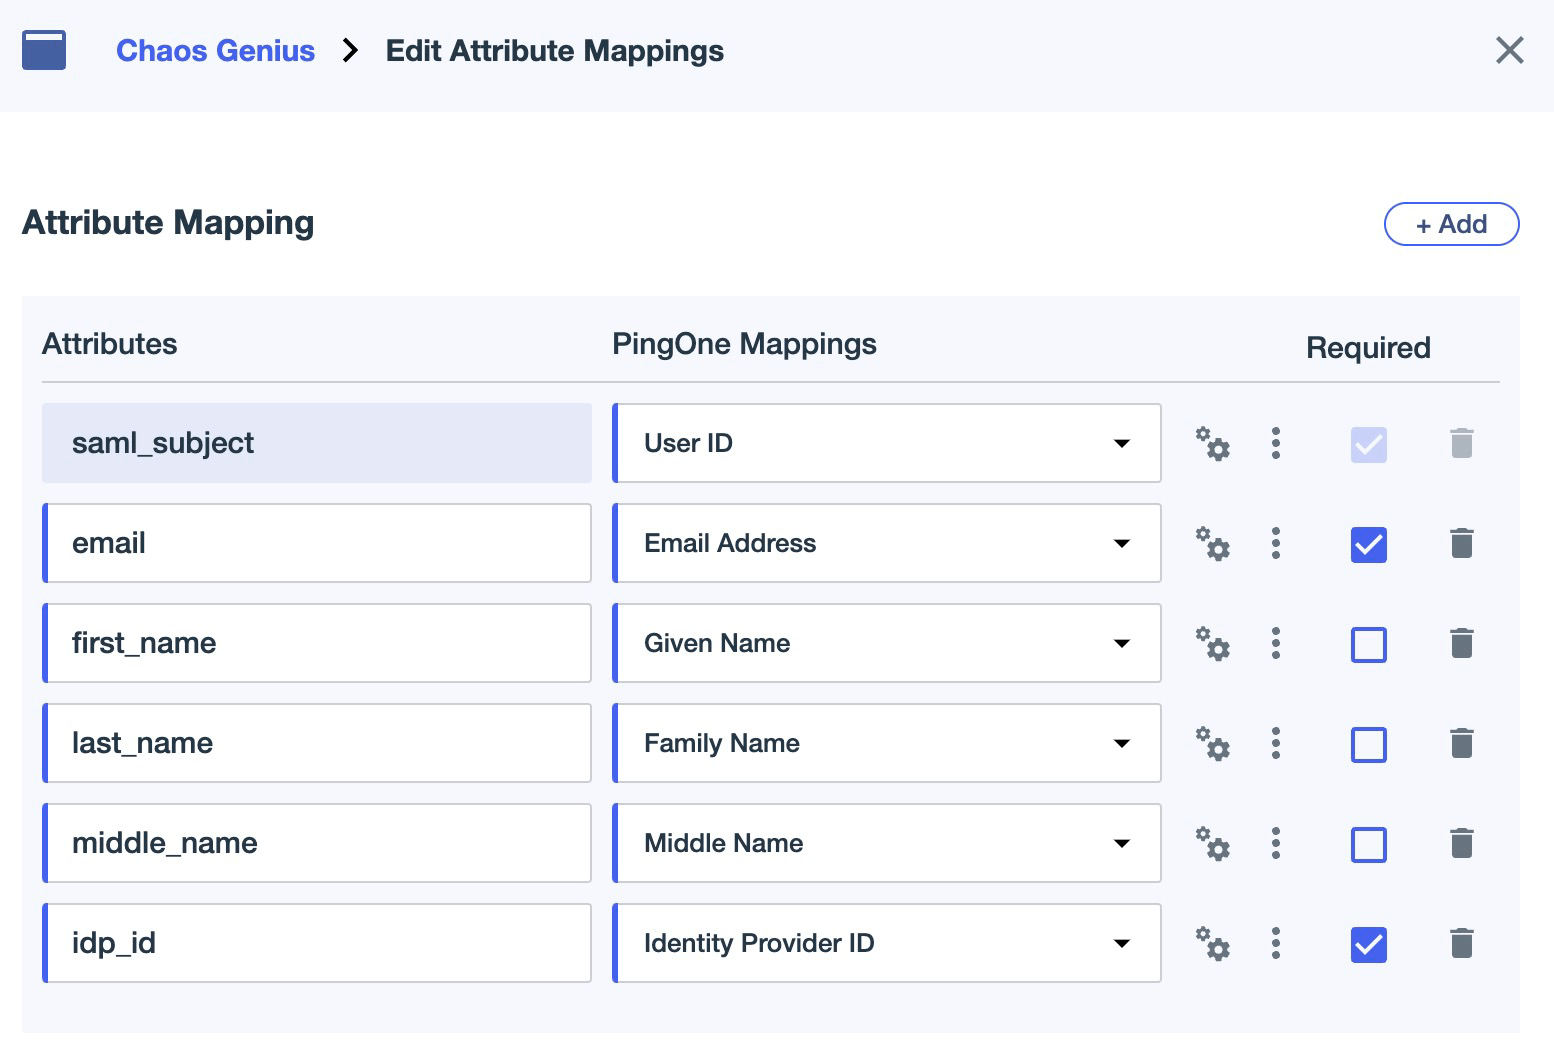
- Click
Save. - Go to the
Configurationtab. Download MetadataandDownload Signing Certificateand provide these files to Chaos Genius.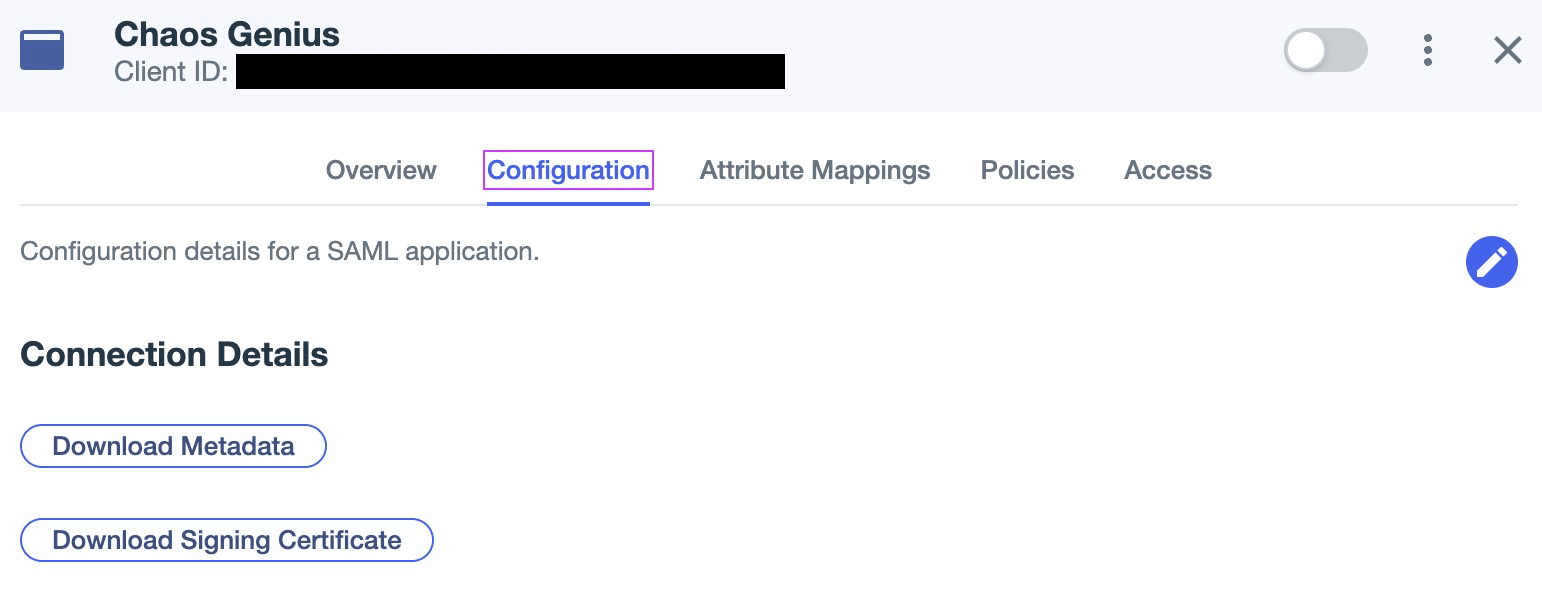
- Finally hit the switch on the top right to enable the application.
- Optionally, you can also attach
Policiesand restrictAccessin the respective tabs. - Upload the files you downloaded into the SSO Configuration section of Chaos Genius settings and hit enable SSO.
Once the system finishes updating, you should be able to log into your account via SSO.